Runbooks are available in Azure tenants to easily run additional PowerShell scripts that are triggered by a webhook.
Webhooks are used in a variety of places in ProvisionPoint to allow custom configuration before or after provisioning, as a manual action or lifecycle action, as a Service type.
This article will give guidance on how to setup a Runbook and link it to ProvisionPoint
Setup in Azure
- A Subscription in Azure
- A Resource Group in Azure
- An 'Automation account in Azure
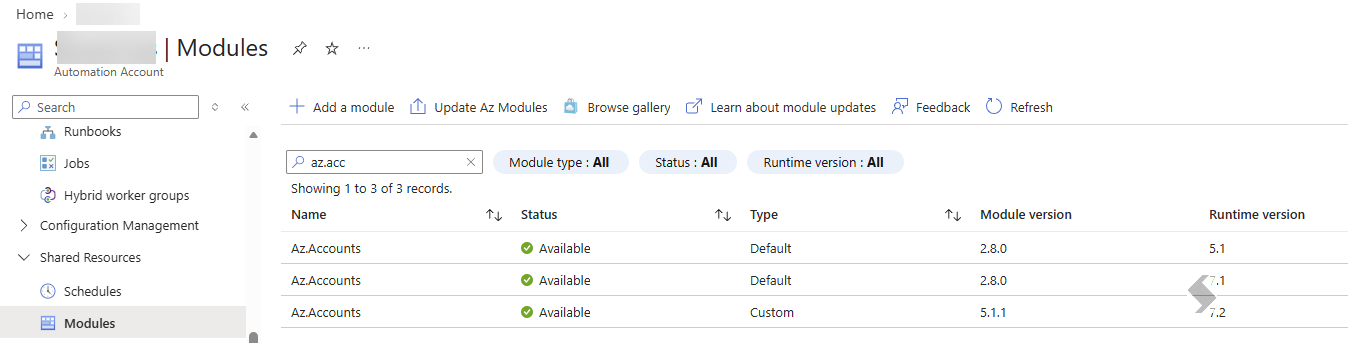
- Import Modules into the Automation account:
- Az,Accounts, AZ.Automation, AZ.ManagedServiceIdentity, any others required for the task you will be performing.
- A Managed Identity in Azure with appropriate permissions assigned (for example Microsoft Graph API or SharePoint API)
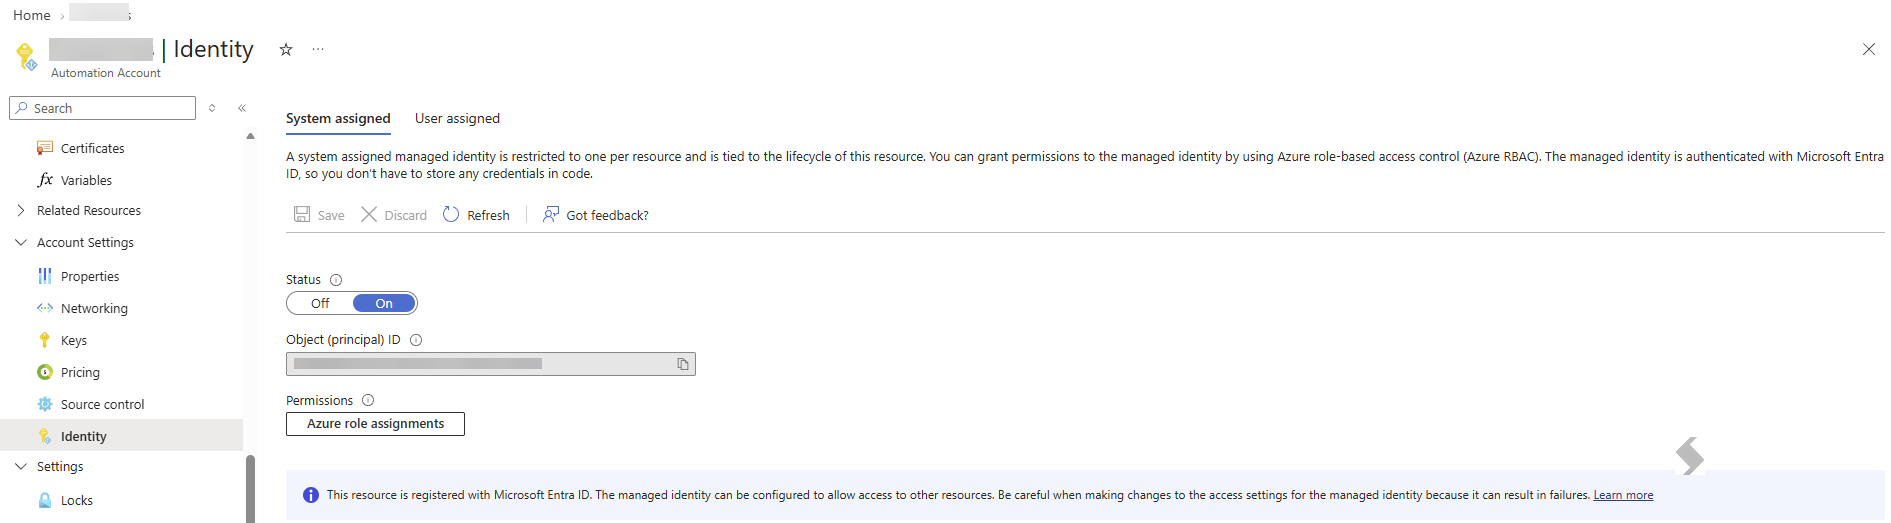
- Enable the Managed Identity in the Automation Account
A Tutorial is available from Microsoft to assist: Create PowerShell Runbook Using Managed Identity in Azure Automation | Microsoft Learn
This tutorial will setup a virtual machine in the script, this is unlikely to be your end result.
Manage runbooks in Azure Automation | Microsoft Learn
Create a Runbook
This article will presume you have the Azure setup completed and you have the correct permissions defined.
Multiple Runbooks can be created in a single Automation account.
- Open the Automation Account in Azure
- In the side menu, expand 'Process Automation'
- Select Runbooks > Create a runbook
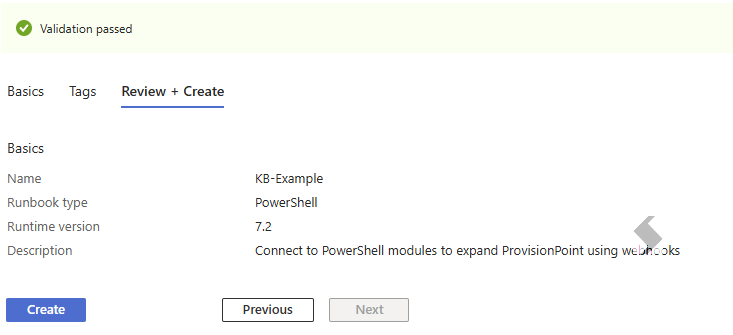
- Name (no spaces)
- Type = PowerShell
- Version = 7.2
- Description
- Tags (optional) are name/value pairs that enable you to categorize resources and view consolidated billing by applying the same tag to multiple resources and resource groups
- Select Review + Create to validate the setup, then click Create
Create PowerShell code
Create the PowerShell code you want to apply, ensuring you extract out any relevant data from the ProvisionPoint webhookdata.
Once complete, Publish the runbook
Below is an example that will
- Extract out key data from the ProvisionPoint webhook (SiteUrl)
- Connect to PnP Online and disabled sharing permissions for the Site that is created
- Use the Managed Identity to authenticate
- If using User-Assigned Managed Identity, add
-ManagedIdentity -ClientId <GUID> to Connect-PnPOnline.
Param(
    [Parameter(Mandatory = $false)]
    [object]$WebhookData
)

# Data - extract key data from ProvisionPoint's webhook data
$WebhookData = (ConvertFrom-JSON -InputObject $WebhookData)
Write-Output "WebhookData = $WebhookData"
$data = (ConvertFrom-JSON -InputObject $WebhookData.RequestBody)
$action = $($data.actionDetail)
Write-Output "Action = $action"
$title = $($action.title)
Write-Output "Title = $title"
$SiteURL = $($action.url)
Write-Output "SiteUrl = $SiteURL"


#######################################################################################################################################
try {
    # Ensure PnP.PowerShell module is available
    if (-not (Get-Module -ListAvailable -Name "PnP.PowerShell")) {
        throw "PnP.PowerShell module is not installed in this Automation Account."
    }

    Write-Output "Connecting to $SiteUrl using Managed Identity..."

    # Connect using Managed Identity
    Connect-PnPOnline -Url $SiteUrl -ManagedIdentity

    Write-Output "Connected successfully."

    #Option 1: Disable Sharing permissions settings - Disable Sharing for Non Owners
    Set-PnPSite -Identity $SiteURL -DisableSharingForNonOwners

    Write-Output "Permission update requested."

    # Disconnect session
    Disconnect-PnPOnline
    Write-Output "Disconnected from $SiteUrl."
}
catch {
    Write-Error "Error: $($_.Exception.Message)"
    throw
}
Create the Webhook Url
The Final step is to create the webhook Url that will be added to ProvisionPoint to trigger your runbook.
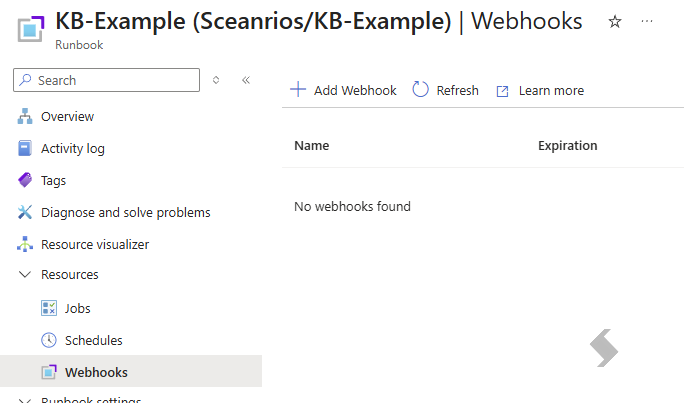
- Expand Resources in the runbook side panel
- Select Webhooks then Add Webhook
- Name the webhook
- Enable
- Set an Expiry date - make a note of this to ensure a new webhook is generated before it expires to continue functionality
- Copy the URL & store it securely - after creation the webhook url will no longer be visible
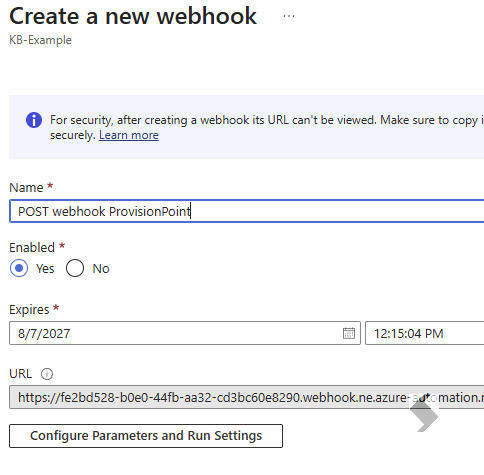
- Click 'Configure Parameters and Run Settings' button
- If your PowerShell states the parameter WebhookData is false > click update
ProvisionPoint will pass this data through. - If your PowerShell states the parameter WebhookData is true > you will need to define the values > click update
- Click Create

Add the Webhook to ProvisionPoint
- Developer tab in each Service Definition
- Developer tab in each Action
- Custom Actions
- Manually enabled in each Service Definition
- In a Stage of a Lifecycle Policy
- Custom Service Type for new requests
The developer tab offers PRE or POST webhooks, which will determine when the webhook will be triggered (Before or after provisioning). Custom Actions and Service Types will be triggered when the action is run.
Click here to read about applying the webhooks to requests and actions
API & Webhook Output - Additional Information