A Service Definition represents a template that will define a workspace configuration in Microsoft 365. A user with the ‘App Manager’ or 'Service Definition Manager' role, can create new Service Definitions, go to Admin > Service Definitions.
The workspaces that can be created are:
- Site Collections
- Team Site (no Group)
- Communication Sites
- Classic Sites
- Sub Sites
- Microsoft 365 Groups (Modern Team Sites)
- Microsoft Teams
- Planner
- Viva Engage Communities
- Custom Service Type
Creating a Service Definition
To create a Service definition,
- Enter a name in the provided text box and then click Next.
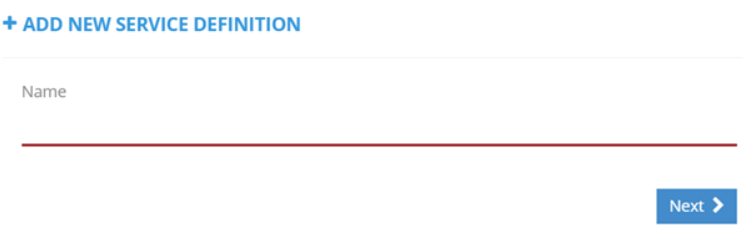
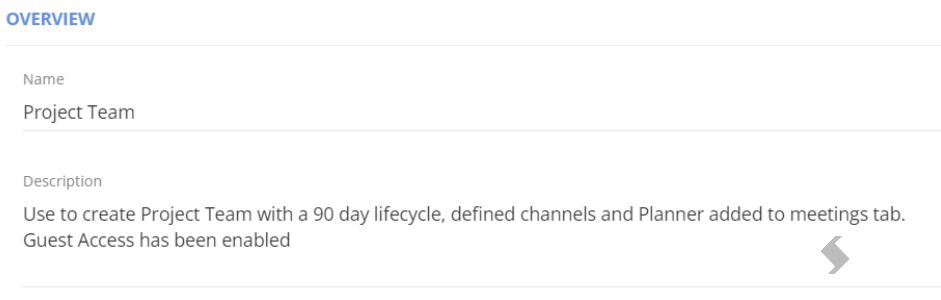
- The 'Overview' tab will be displayed, this contains the mandatory settings and optional storage settings for your requests.
- The Name can be edited
- A Description can be added, to guide what the request will do
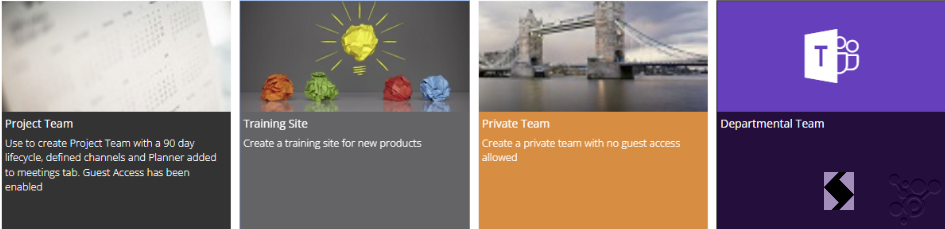
- The request tile, that will be displayed on the requests page, can be changed to use images or icons, the size can be increased to include the name and description, for more information read the [insert customise request tile article] article.
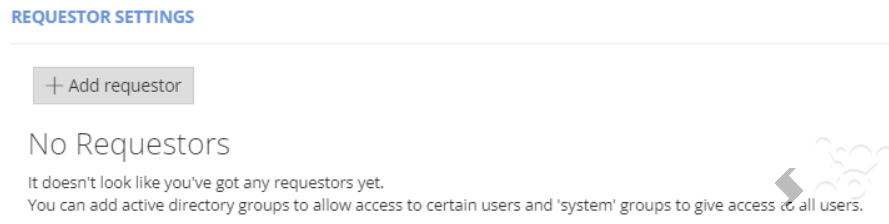
- Requestor Settings, define who will have permission to make requests via the 'Requests' tab.
This can be linked to existing AAD Security groups or can be set to a system group (All members)
- Select the Service Type that will be created, additional custom service types can be created if other requests need to be managed
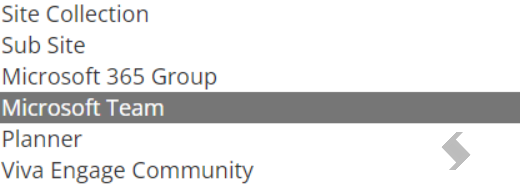
Depending on the type selected the remaining creation details will dynamically change.
|
Service Type
|
Additional configuration
|
|
|
Site Collection
|
- Managed Path: Choose between /site or /teams
- Template Type: Select from a SharePoint Template or a PnP template
- Site Template/Provisioning Template: this will be updated dynamically based on the template type selected. Either a SharePoint list of default templates or any uploaded PnP templates will be displayed.
- Time Zone: select the time zone from the list available.
- Default Language: Select the default language that will be applied to the Site
- Primary Site Collection Administrator: Apply the same user or use Transform Tags to dynamically apply who the Site collection administrator will be. For example, {Requestor}
|
|
|
Sub Site
|
- Parent URL: enter the full URL of the parent site the sub site will be created under.
- Template type: Select from a SharePoint Template or a PnP template
- Site Template/Provisioning Template: this will be updated dynamically based on the template type selected. Either a SharePoint list of default templates or any uploaded PnP templates will be displayed.
|
|
|
Microsoft 365 Group
Microsoft Team
Planner
Viva Engage Community
|
- Provisioning Template: will show a list of any PnP templates that have been uploaded to our app, read Uploading a PnP Template for more information
|
|
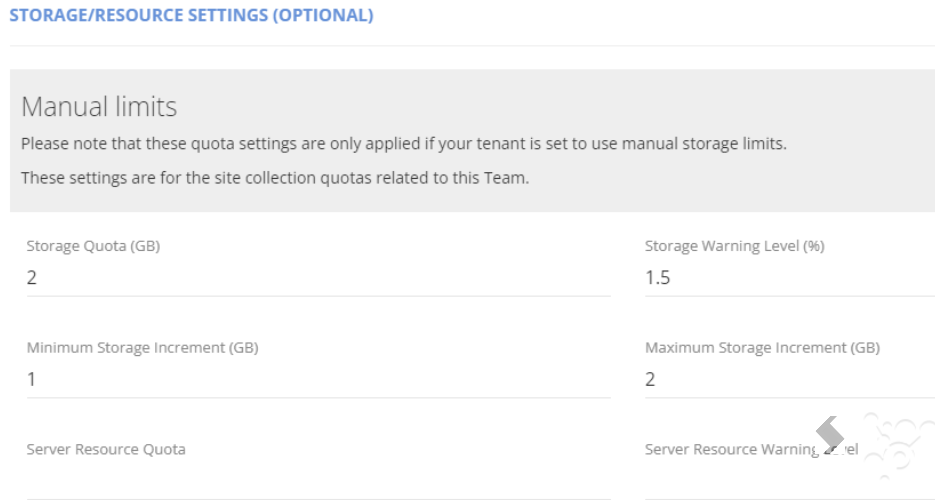
- Storage/Resource Settings (optional) can only be used if the SharePoint Admin Centre > Settings > Site Storage Limits have been set to manual.
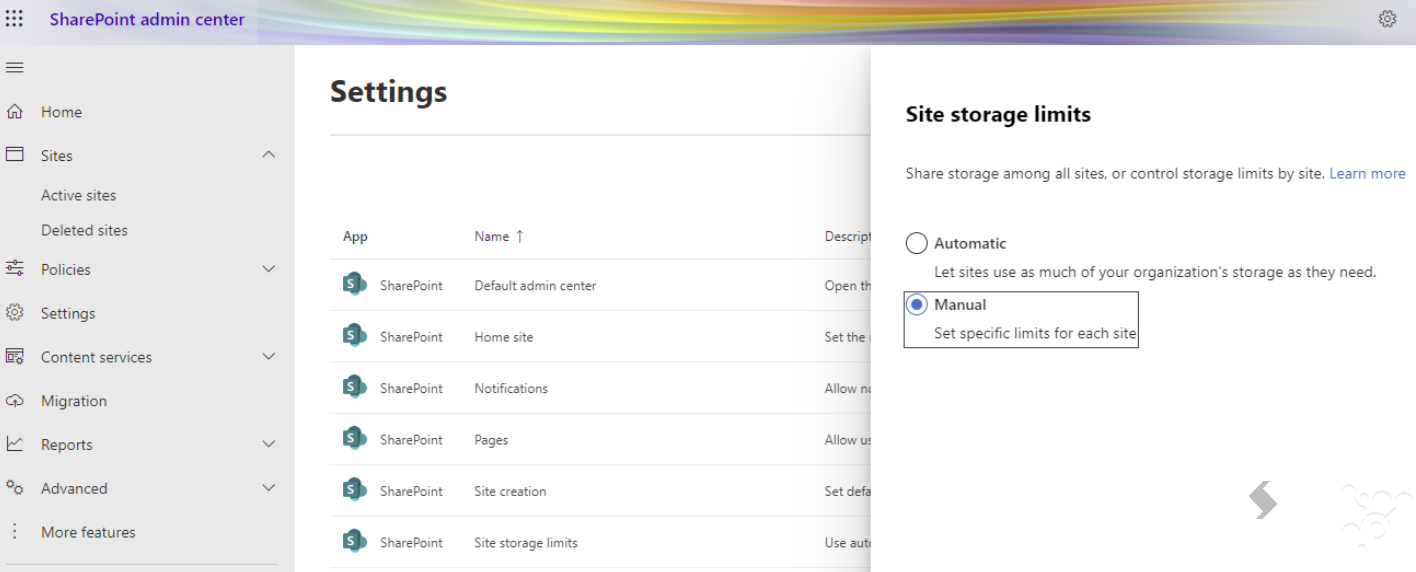
Define the quota and warning levels for any Sites created from the Service Definition.
- Click the ‘Save’ button on the right-hand side.

- A ‘Success’ Notification will appear in the top right-hand corner when your settings have successfully been saved.

- Other configuration can be completed to apply naming conventions, lifecycle's, approval and more, [insert link to additional setting]
Activate a Service Definition
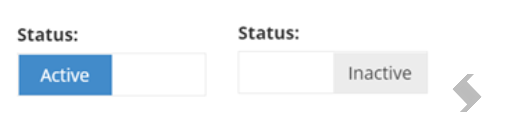
When a Service Definition is initially created, it will be marked as ‘
Inactive’.
While inactive, the request tile
will not be visible in the '
Requests' area.
Activate once all other setup is completed.
To activate a Service Definition, click the ‘Inactive’ status button on the lower left-hand side, to change to ‘Active’.
Once saved, the Service Definition will be visible to the requestors defined.
Next recommended Article:
Copy Service Definition