ProvisionPoint allows the creation of Approval tasks that can be managed via the Tasks tab.
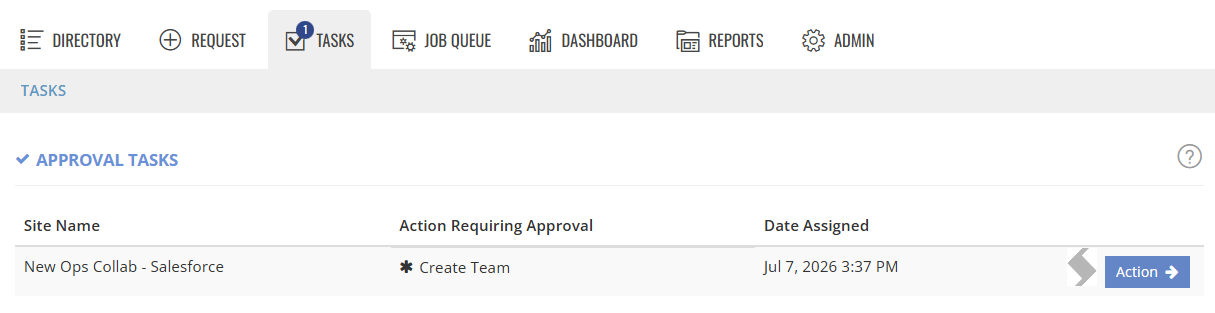
The following is supported:
- Multi step approvals - create multi approval steps before a request is processed
- Set the approver to be
- An individual
- A Group of people (only 1 person needs to approve)
- Use People picker columns to dynamically choose approvers
- Look up the Requestors Manager from Azure (Request Variable)
- Use drop downs and Lookup columns to define approvers, for example per business unit, project type, etc
- Email Notifications can be enabled to the approver when the task is assigned
- Email Notifications can be enabled to the requestor once the task is approved or rejected with comments.
Below are the Steps to Setup Approval in ProvisionPoint
Create Approval
-
Create Approval Templates
Expand to see steps
Approval templates define the steps and who the approver(s) will be
- Go to Admin tab > Templates > Approval Templates. If previous approval templates have been created they will be listed.
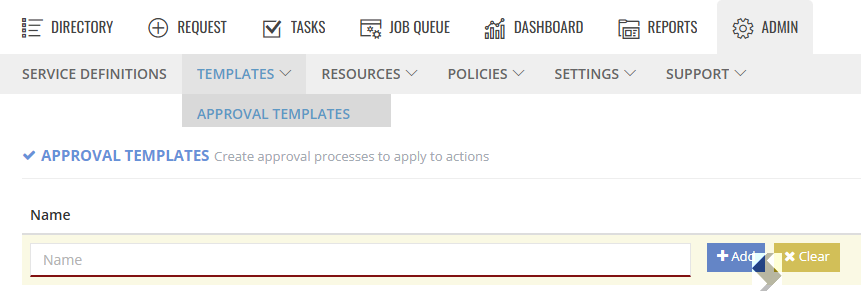
- Type the Name of the template - this will be visible when choosing the type of approval to apply later. Ensure it is named according to what it will do.
- Click +Add

- Click 'Manage' to open the Approval
The approval will be inactive, notifications will be turned off and no steps are defined
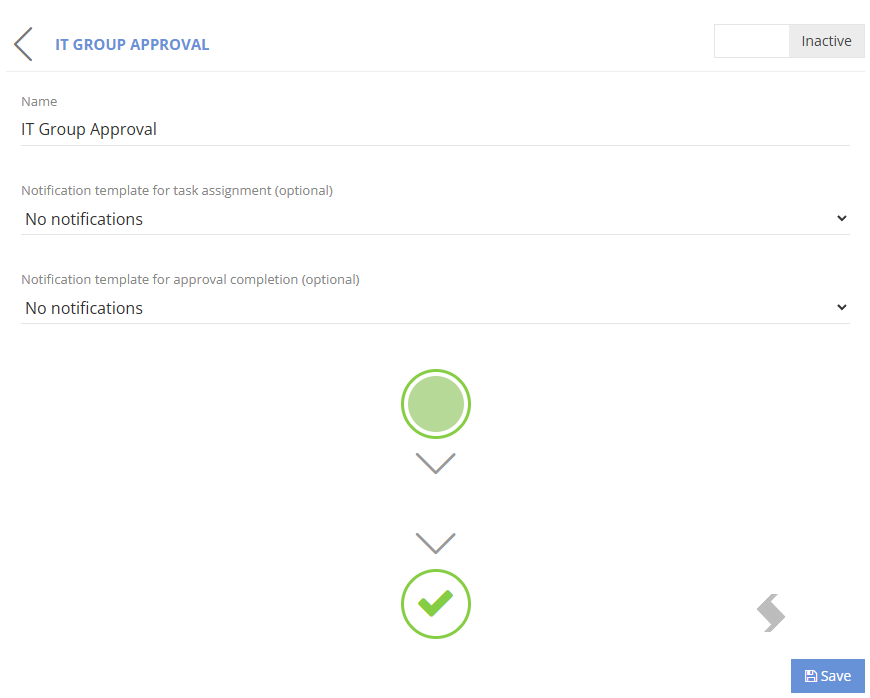
- To send email notifications, click the drop down where 'No notifications' is shown & select a notification template for either:
- Task assignment
- Approval completion
The system default can be used or use the default content with a header and footer template. To customise the subject and body read more in [Customising Notification Templates]
- To add a step hover the mouse between the two green circles & click Add Step
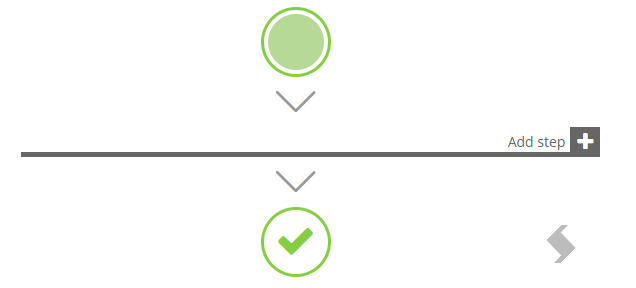
- Choose an Actor type from the drop down
- User - Individual
- Type the name of the person and this will be looked up in Entra
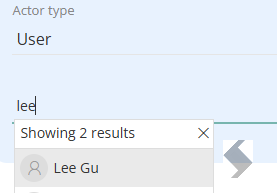
- Group - Security Group
- Type the name of the Group and this will be looked up in Entra
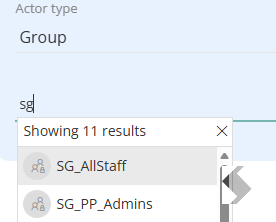
- Request Field - Column in a ProvisionPoint Request form or Lookup Column
- Type the name of the Column (this must be exact)
- Request Variable - Person pulled from Azure or request variable calculation
- Select from the available Request Variables, if none are listed you will need to create this then add it in.
- If more Steps are required, hover the mouse below the Actor box and click Add Step
- Repeat the same steps to select a person or Group
- Click Inactive at the top to Activate the template
- Click Save to keep the changes
-
Add Approval to the Request
Expand to see steps
Each Service Definition can choose an approval template to be used for requests.
The same approval can be used in all Service Definitions or create bespoke approval templates for each one.
- Go to Admin > Service Definitions > Approval tab
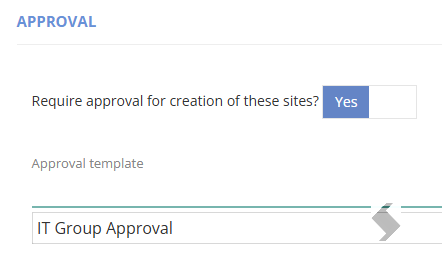
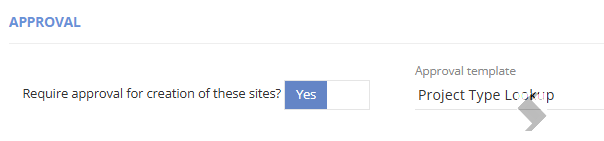
- Toggle the 'Require approval for creation of these sites?' to Yes.
- Select the Approval Template to use for new requests using this Service Definition.
Only Active templates will be displayed
- Save the Service Definition
-
Add Approval to Actions
Expand to see steps
When a change is made via ProvisionPoint Actions, an approval can also be selected, this will prevent the request being processed until it has been approved.
- Go to Admin > Service Definitions > Actions
- Select the Approval Template on each Action
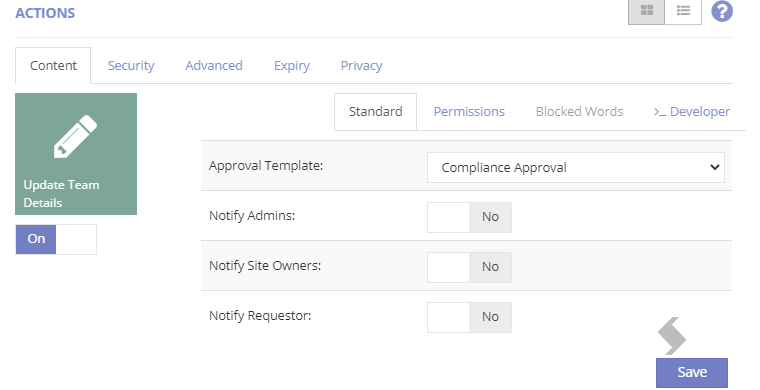
- Click Save on the right hand side
- Repeat for any other actions
- Save the Service Definition
-
Enable Notifications in the Service Definition
Expand to see steps
If you have added email notifications in the Approval template Notifications must be enabled for the Service Definition
- Go to the Notifications tab
- Ensure Notifications are enabled and a Notification template is applied
- Ensure there is an error email address, this will ensure any failed request are sent to someone for investigation.
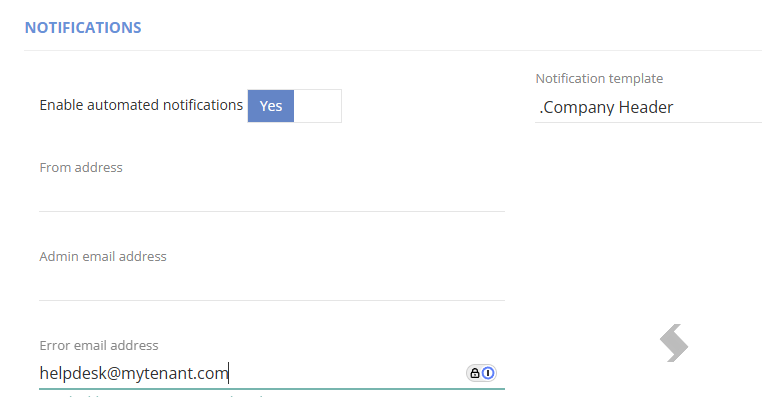
- Save the Service Definition
-
Create a Request Variable to collect the Manager in Entra
Expand to see steps
To collect information from Entra / Azure you can use Request Variables to collect the Manager of a person.
This could be the requestor or one of your custom people picker columns.
If the Manager field is not populated for users, this request will go to the ProvisionPoint App Managers
- Create the Request Variable
- Go to the Admin tab > Templates > Request Variables .
- Add a unique Identifier, this will be used to identify the output in the approval template
- Add a description to make their purpose easier to identify, especially if you have multiple request variables.
- Select an Output type; for this article, select Person or Group.
- Define the Formula, to look up the manager: {Requestor}.Manager or {Project Owner}.Manager (this presumes there is a form linked to the service definition with this field included)
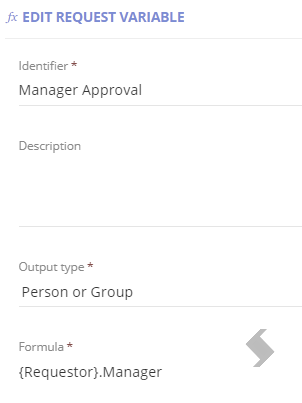
- Click Save
- Add the Request Variable to the Approval Template in the Actor field
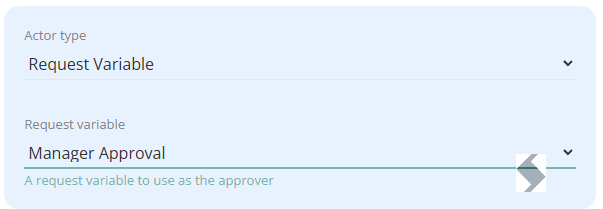
- Add the Request Variable to the Service Definition > Request Tab > Request Variable Reference
If this is not added, the variable will not be used and approval would default to the ProvisionPoint App Managers

- Finally add the Approval to the Request or Actions.
- Save the Service Definition
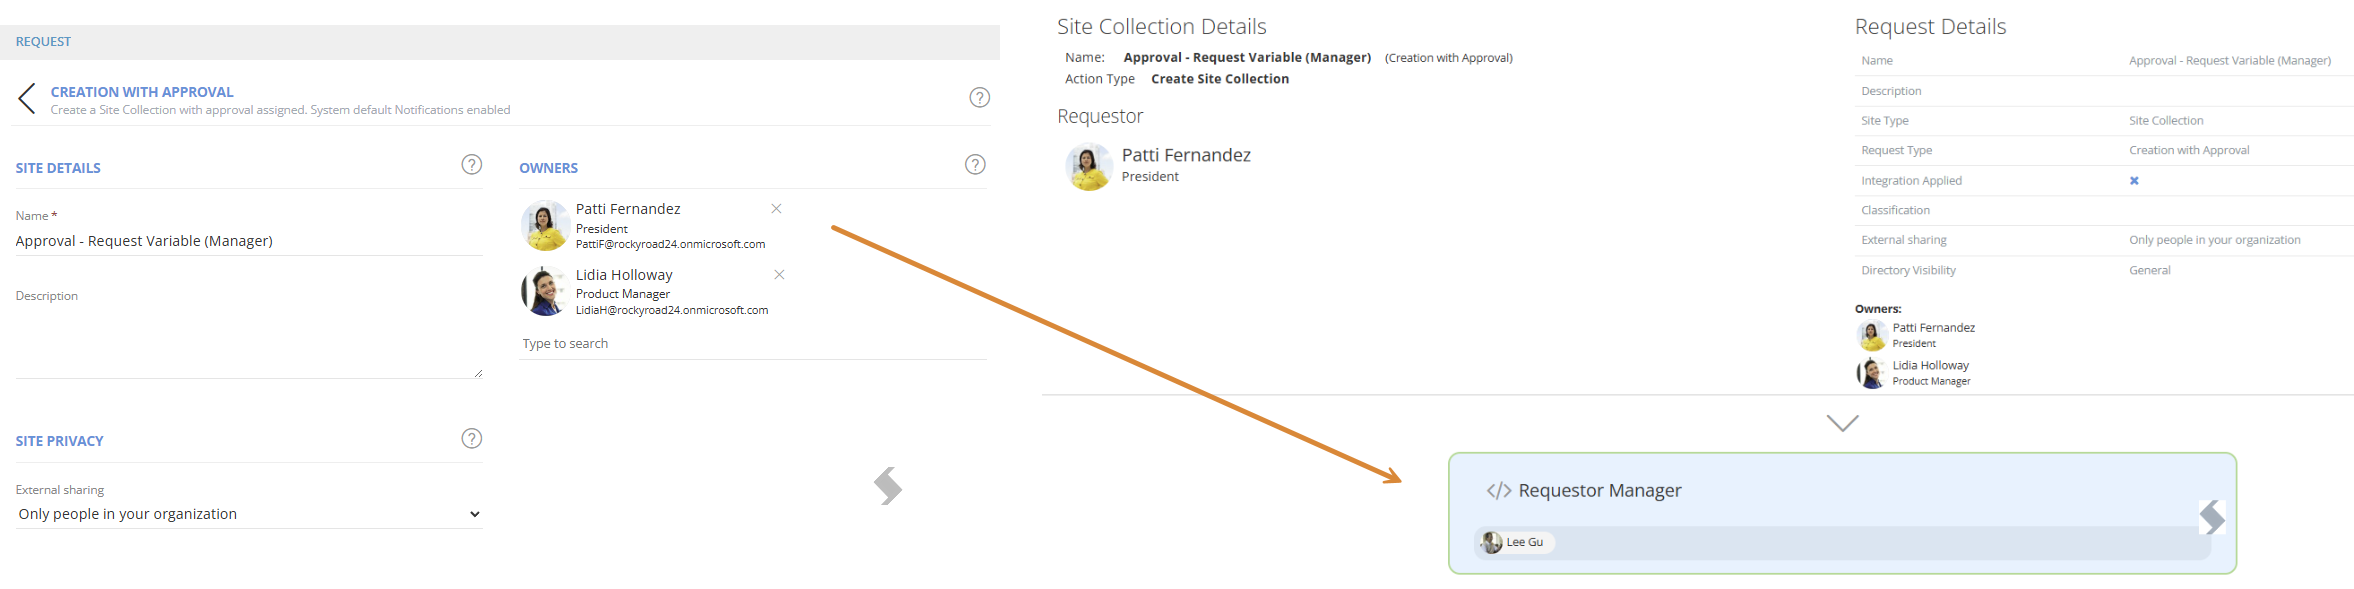
- When a new request is made the approval will be assigned to the Manager
- The results in the Timeline will show the approver is set to the Requestor Manager (Request variable name):
- Create Dynamically assigned approvers -
-
People Pickers
Expand to see steps
To use a people picker from the request form to define the approver you will need to have the following setup
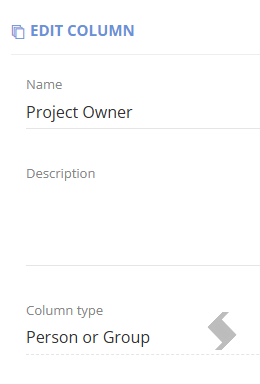
- A People picker column
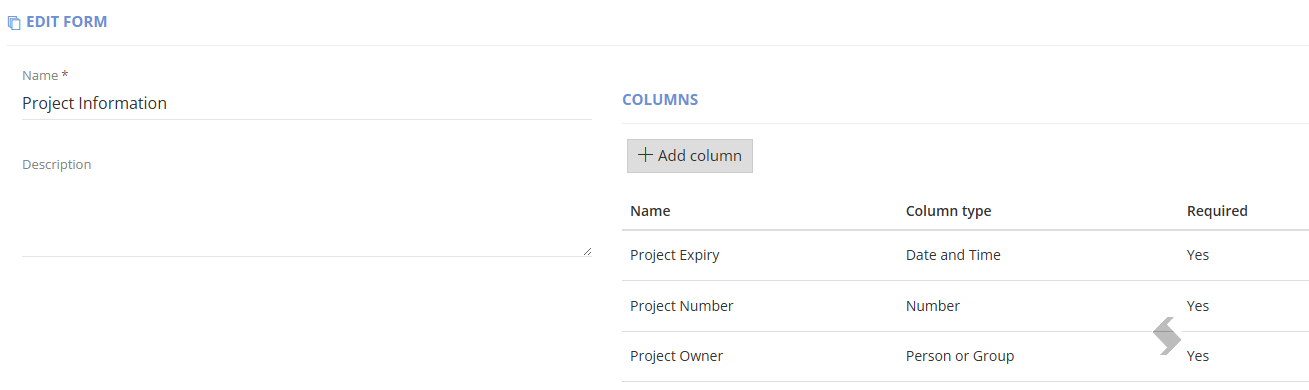
- The Column must be added to a request form and be a required field
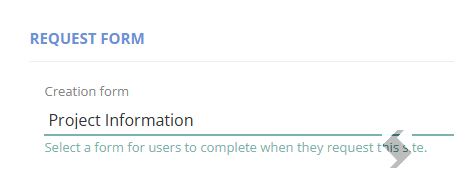
- The Request form must be linked to the Service Definition (Request tab)
- Create an approval template with the actor type = Request field and the column name typed in
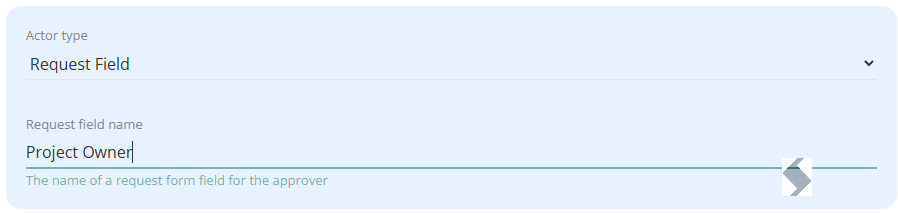
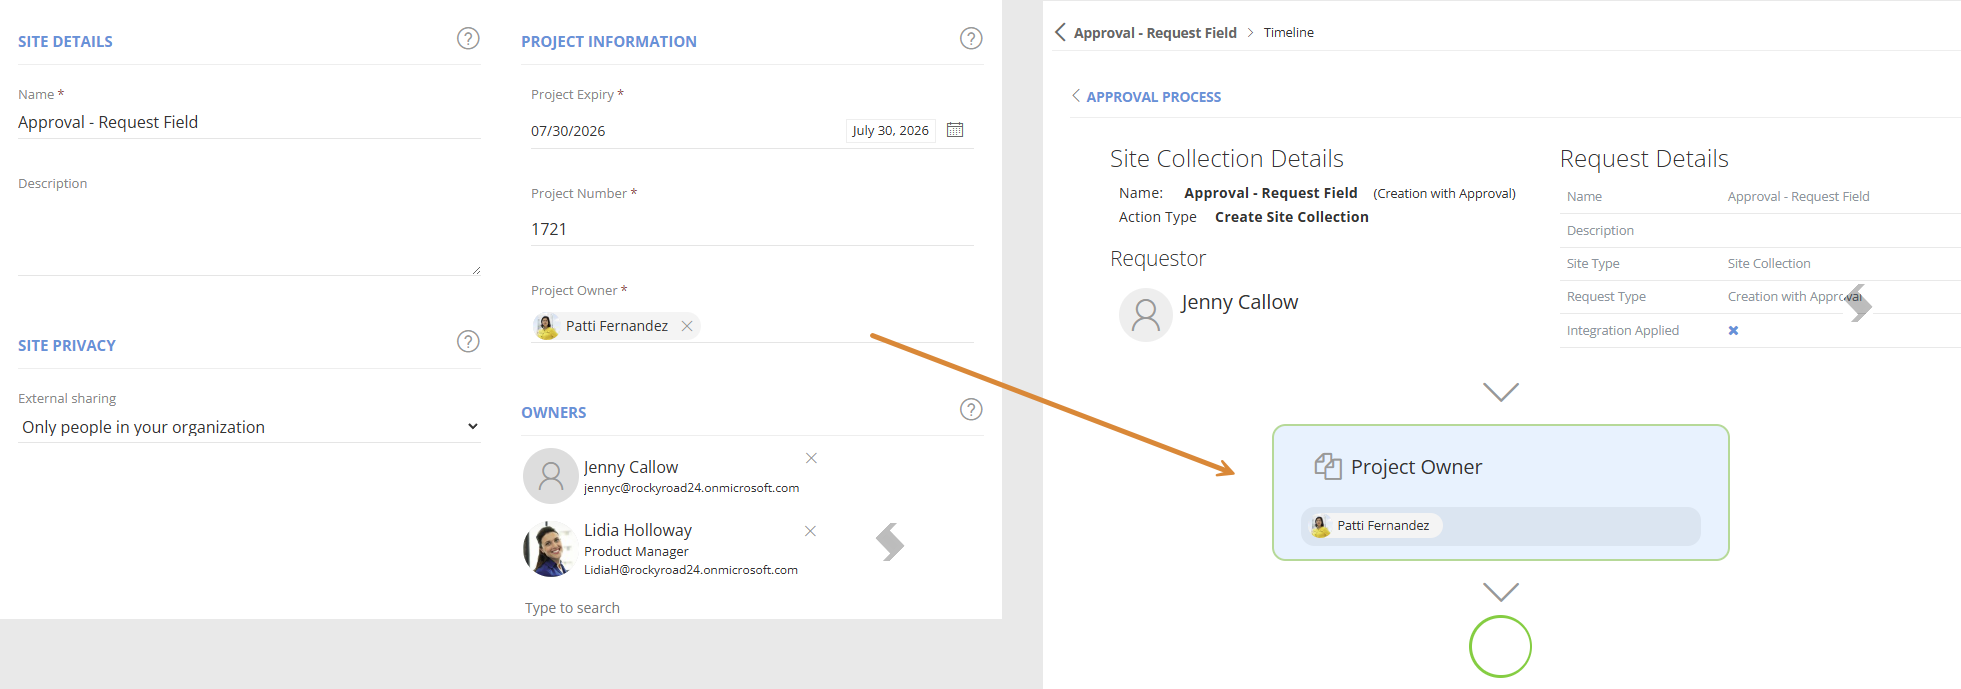
- When a new request is made the approval will be assigned to the person added to the column
- The results in the Timeline will show the approver is set to the Project Owner field:
-
Lookup Columns
Lookup Column approval can be used to define who an approver of a request should be based on the selection made in a drop down column.
Follow the steps to configure:
- Create a Drop Down Column that will be displayed on the Request Form, with values added
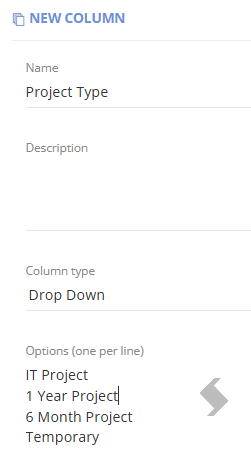
- Create another Column with the same name and values. Add Lookup to the name
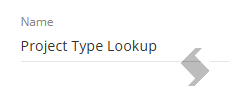
- Add a # to each line and the email of the person who will be the approver
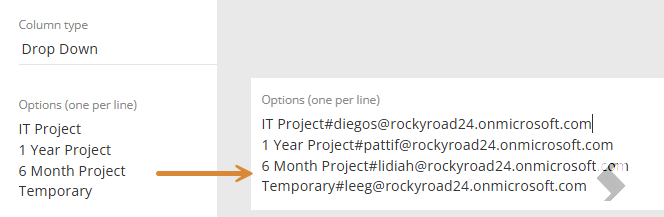
- Add the Column to a Request Form as a required field
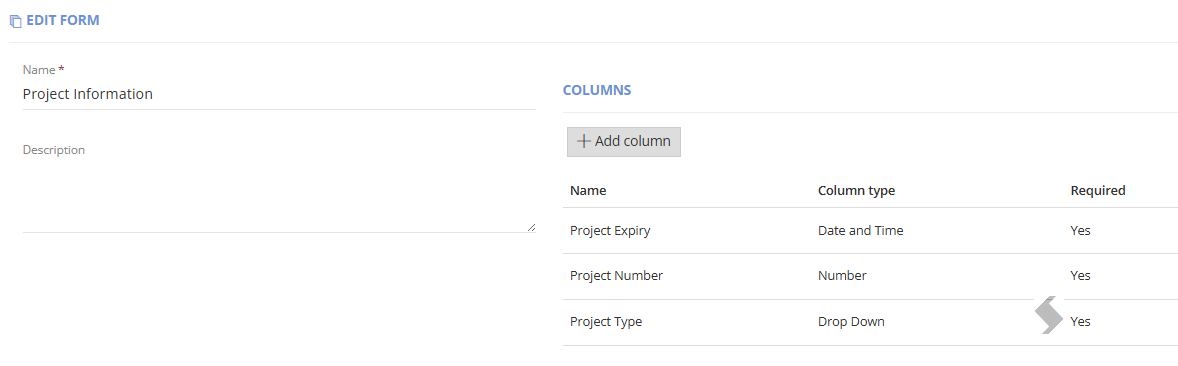
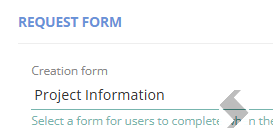
- Add the Form to the Service Definition
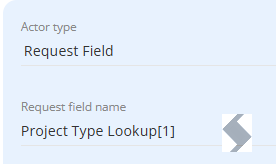
- Set the Actor Type in the approval template to Request Field
- Add the column name to be the Lookup column with [1] for the approver email
- Add the Approval template to the Service Definition
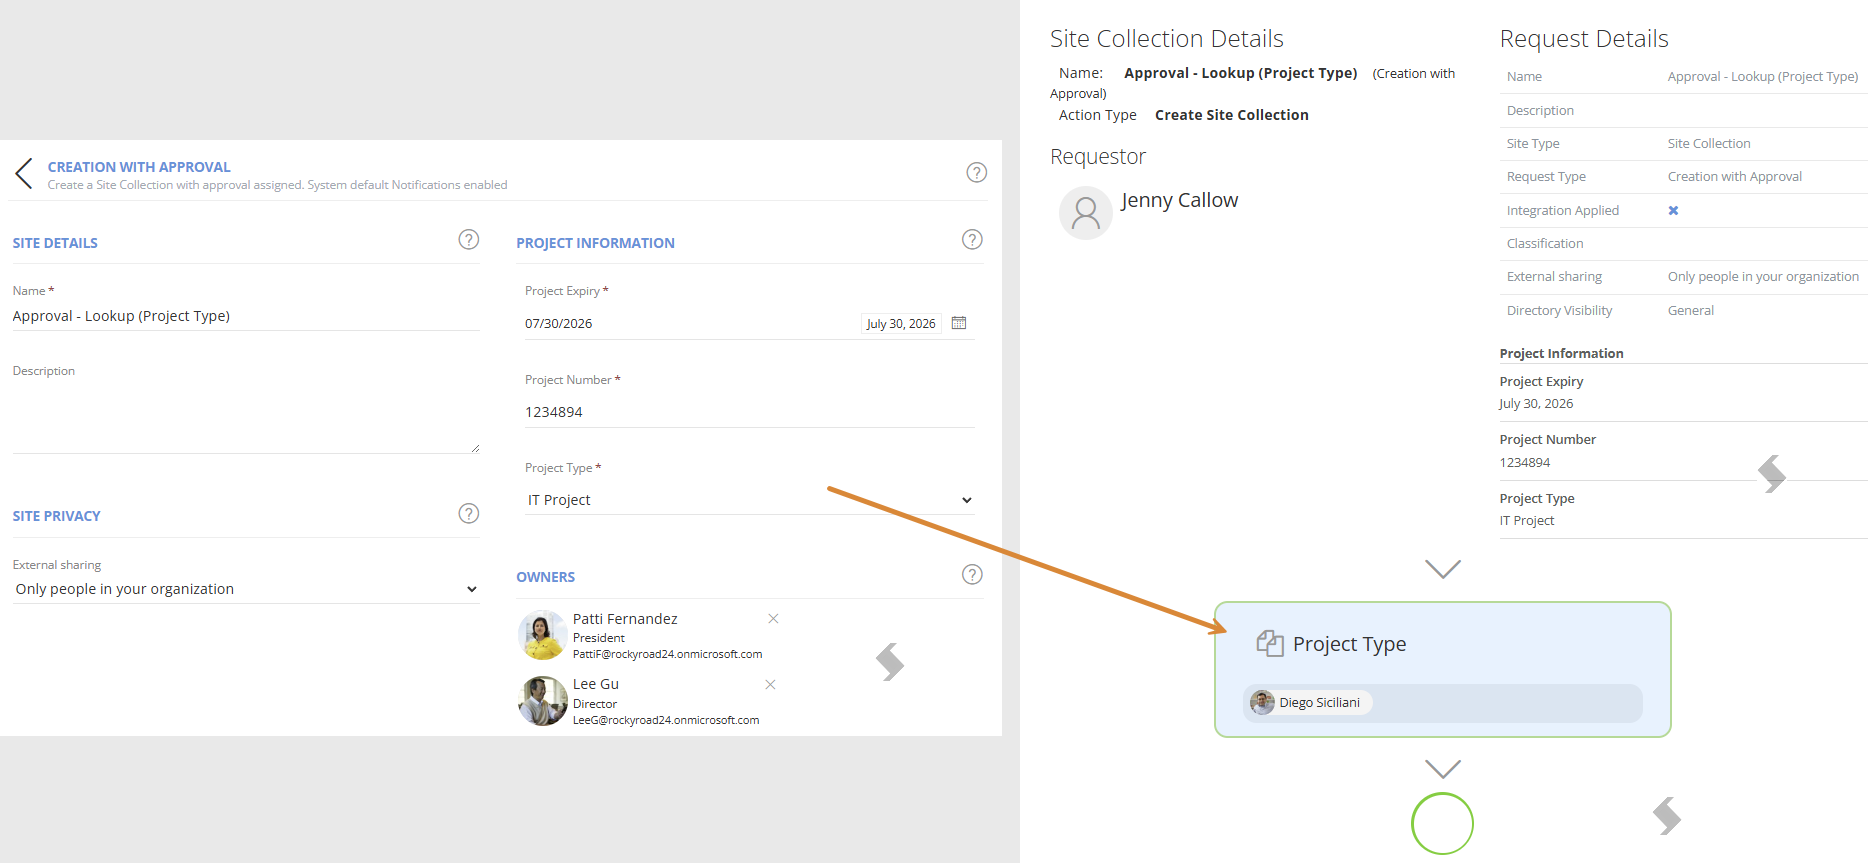
- When a new request is made the approval will be assigned to the person added to the Lookup
- The results in the Timeline will show the approver is set to the Project Type field and the person we had defined in the lookup column
- To view how to manage an approval read Complete an Approval Task