A Compliance Policy is nothing without rules, these define what checks will be made on your workspaces, what equals non-compliance and the actions that will follow.
These include:
- Report the results of the checks in the policy job queue
- Notify an owner of the non-compliance or
- Make a change to the M365 or ProvisionPoint instance.
Create a Ruleset
First, a ruleset is created, this allows you to group rules together and provide the link between the policy and rules. You may have a single ruleset or multiple depending on your needs.
Expand to see the Steps
- Go to Admin > Policies > Compliance Policies > Rulesets
- Click + New Ruleset
-
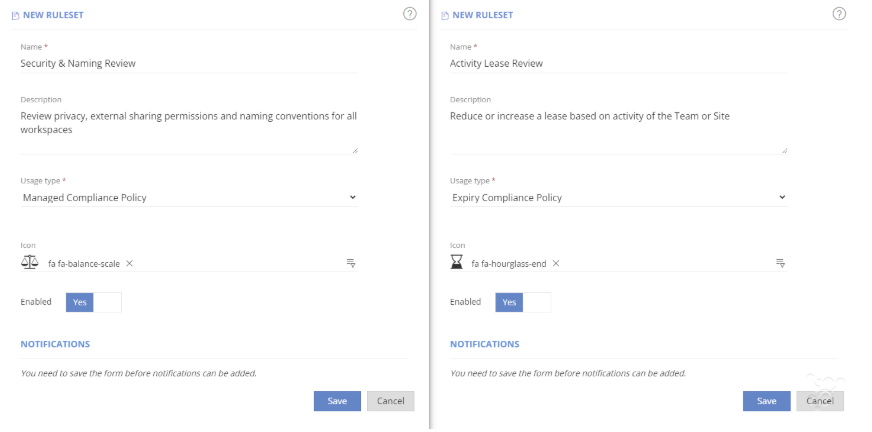
Complete the Ruleset information:
|
Field name
|
Description
|
|
Name
|
The name is required and will appear in the Policy and timeline activity for your workspace
|
|
Description
|
An optional field giving guidance on what the Ruleset is for
|
|
Usage Type
|
The usage must match the policy it will be linked to, only rules of the same type will be displayed.
- Managed Compliance Policy - to check the state of workspaces registered in ProvisionPoint Workspaces with the source workspace in O365
- Expiry Compliance Policy - To change the expiry date based on usage rules, these can only be applied to workspaces that have a lease.
|
|
Icon
|
Select from a list of available icons, this will be displayed in the Policy and timeline activity 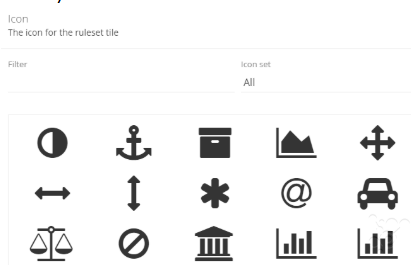
|
|
Enabled
|
If set to No, this Ruleset will not be selectable for a policy or run if already linked run, toggle to yes to enable
|
4.Click save, the Ruleset will now be listed
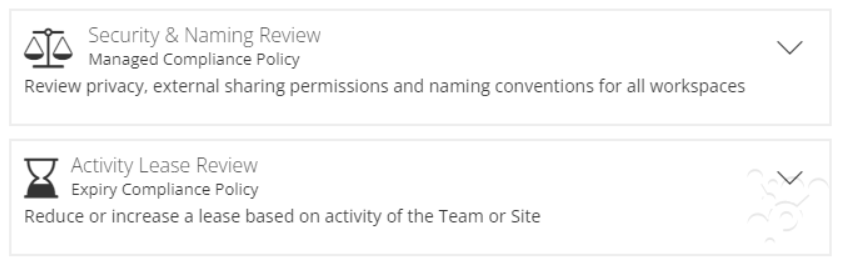
5.Expand the set to add rules, notifications or edit what you have made
Create Rules and Add to Rulesets
Now the Ruleset exists, we need to add the rules and set the order that the rules will be run in to get the best outcome.
Expand to see the steps
- Click + New Rule at the bottom of the ruleset
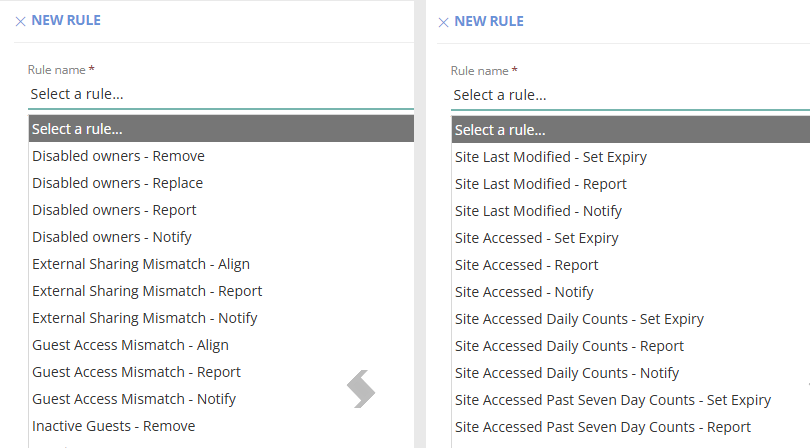
- Select the Rule from the list provided, the list will be different based on the ruleset usage type
-
Complete the Rule configuration, this will vary based on the rule selected.
|
Field Name
|
Description
|
|
Rule name
|
Select from the list of available Rules
|
|
Rule description
|
Will automatically populate with what will happen if this rule is applied
|
|
Enabled
|
If set to No this Rule will not be run, toggle to Yes to enable
|
|
Configuration description
|
If configuration is required for the rule, this will be updated once the condition is added. The text will appear in the Ruleset and Policy details. If no configuration is required it will repeat the rule description
|
|
Condition
|
Any conditions that must be met for this rule type. This will vary depending on the rule chosen, what you choose will equal non-compliance. For example, check for 2 or more disabled owners 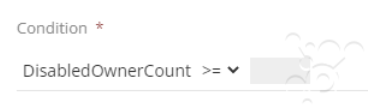 |
|
Content
| Only available on notify rules.
Add the default content that will be added to the notification email when the conditions are met.
For example, There are 2 disabled owners in this Team, please use actions to replace them (provide a url link to the action you want them to use)
 |
|
Replacements
|
Only available for Replace rules, will allow you to define who will be replacing the person.
|
|
Mismatch type
|
Only available for mismatch rules, will highlight the mismatch that is being looked for.
This can be to look for differences between O365 and ProvisionPoint or based on defined values.
For example, set external sharing mismatch to look for any that are not Only people in the organisation, to highlight all that are externally shared. Then link this to an internal only service definition.
|
|
Align type
|
Only available for mismatch rules. If a mismatch is found what is the source of truth or value that should be applied.
- Force changes in ProvisionPoint to match Microsoft or vice versa.
- Make changes in Microsoft to Match the Service Definition
- Makes changes in ProvisionPoint and Microsoft to match a preferred value
|
|
Use Conditional Check
|
Only available in Expiry rule, allows you to define when the check should be run on workspaces, currently based on expiry date. Helps to ensure an extension to the expiry date is only applied towards the end of a project 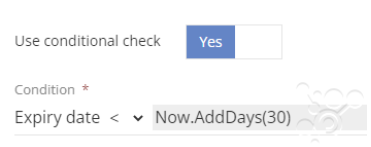 |
|
Duration
| Only available for expiry rules, will define the number of days of activity or no activity for a number of rules |
|
Operation type
|
For Expiry rules this will set what will happen if the conditions and durations are met. If selected a second field will be shown to set the number of days or transform tag to be used. Transform Tags must be in {braces} 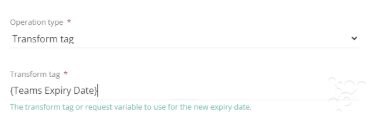 |
4.Click Save, the Rule will now be added to the Ruleset.
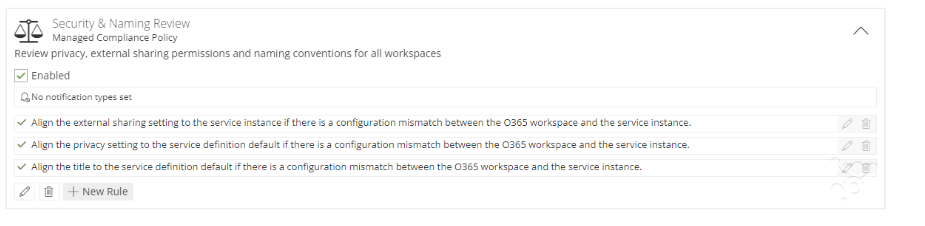
5. Repeat for any other rules until the ruleset is complete
Add the Ruleset to the Compliance Policy
The Ruleset needs to be added to a Compliance Policy, this will define the schedule (if required) and which rules sets will be grouped together.
Expand to see the steps
- Go to Admin > Compliance Policies and expand the policy you want to amend
If you do not have a policy create a new one. - Click +Add ruleset
- Select the ruleset required from the list
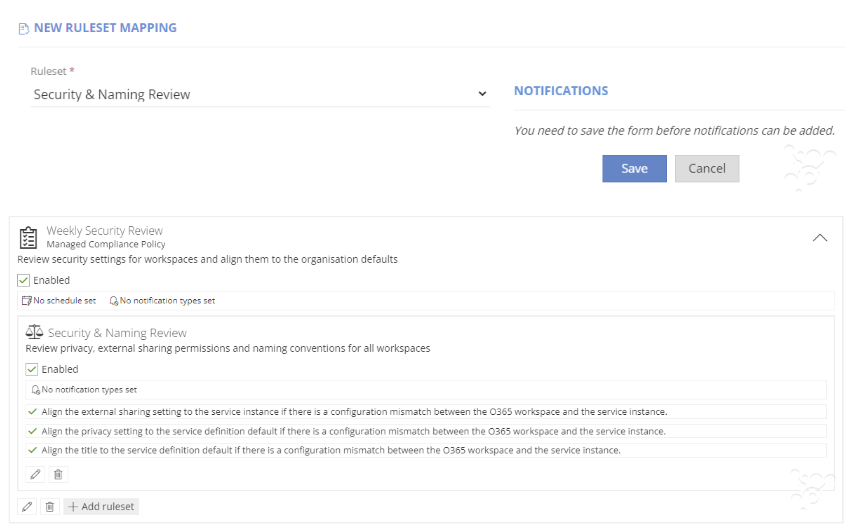
- Edit the policy to add notifications. To learn more read the Configure Notifications for Notify Rules article.
- The order the rules are listed is the order they will run in, ensure they are ordered as needed and that any other rulesets are added in order of preference
Link Policies to a Service Definition
Finally, link the Compliance policy to any relevant Service Definitions.
Expand to see the steps
- Open the Admin > Service Definitions page
- Edit the Service definition by selecting the tile
- Go to the Compliance Tab
- If any Compliance policies have been added already they will be displayed.
- Only 1 Expiry Policy can be added to each Service Definition
- Multiple managed policies can be added, but should run on different schedule, where possible group the managed rules into a single policy.
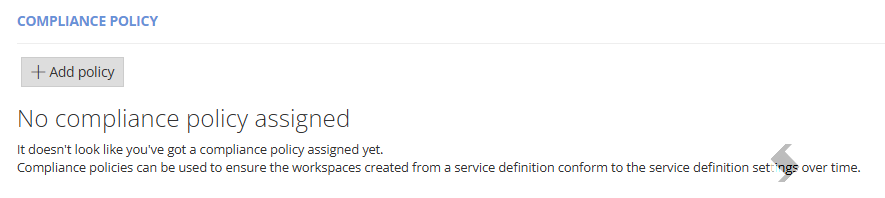
- Click +Add policy
- Choose from the list of enabled Compliance policies
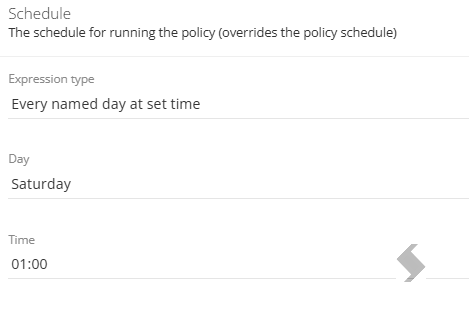
- Set a Schedule to run on (minimum 1 per week)
- On a named day
- Set the number of days (From the date it was added)
- The time should be out of hours to stop slowness in your daily use.
Will also be in UTC, so calculations for your local time will need to be made
- Choose to show the compliance status in the Info page
Will display the policy name and last run result
- Click OK
- Click Save
Repeat for Any other polices or Service Definitions.