To make a request you will need to:
- Access ProvisionPoint from the Teams app or URL. Your organisation may have created other ways to process requests.
- Select a Service Definition Template
- Fill in the request form
- Submit the request
- Check the progress
Select a Workspace Template (Service Definition)
As a licensed user, a set of workspace templates (known as Service Definitions) will be made available to select on the 'Requests' page.
From the templates, requests for new Sites, Groups, Viva Engage Communities, Planners and Teams can be made using the templates designed by the App managers.
The design of the tiles will vary to our images as they are fully customisable.
When a workspace is requested a request form will be displayed and all mandatory information will need to be completed.
Each form will display the security options as well as additional metadata that can be collected.
The naming of the workspace templates and the information on the form should help you make the right choice for your needs.
Once the form is completed and any user agreements have been confirmed, click 'Request'.
- Any blocked word or mandatory field validations will be run and will highlight any errors.
- If there are none the provisioning will start and the user will be taken to the Directory > Site I Manage page
Provisioning Status
Once requested the status will update and be displayed in the Directory view, Info page and in the Timeline for each request.
Below are a list of the Status and what will be required:
Pending

If the job is showing as pending, the provisioning has not started, we are running checks to see if approval is needed or if there are any pre checks to be completed.
This status should not remain for long, if it does last for more that 4 hours, please contact your app managers to check if there is an issue via the Managing the Job Queue.
Paused

If there are pre-checks setup you may see a paused status, you will need to wait for this to be processed, if this lasts more than 24 hours, please contact your app managers for assistance.
Pending Approval
Once the pre-checks are done if approval is applied the approval needs to be completed before the workspace is created.
Please wait for the approval to be granted, you can check who this is assigned to in the Timeline and reach out if you believe this is taking to long.
If the approval is rejected,
- A new status icon will be displayed to the owners in the Sites I manage area only:

- An email will be sent to the requestor and a new request can be made.
In Progress
After pre-checks and approval the provisioning will begin and the in progress status will be displayed.
This is when any naming conventions will be applied and the configuration set in the template will be processed.
Depending on what needs to be done this can take a few minutes to an hour or 2.
Failed
If the red exclamation mark is shown against your workspace, there has been a problem with the creation, some elements of your workspace may be created but
do not use it!
The Info page will display a failed status and the timeline will show a red circle:
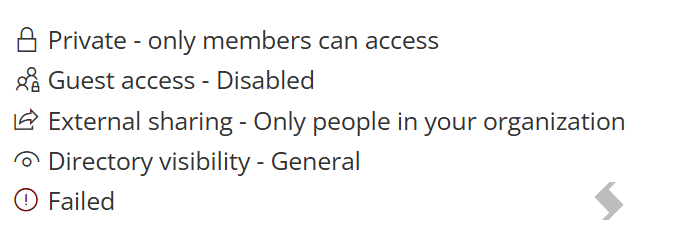
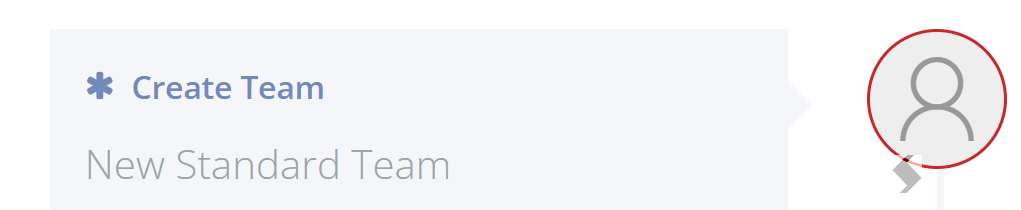
Please speak with your ProvisionPoint App Managers to find out the cause of the error.
If you have been assigned the app or queue manager role, the errors can be viewed in the Job Queue tab. Read Managing the Job Queue article for more information.
Complete
Once created the Open button will be available
If notifications have been enabled, you will also receive an email telling you the provisioning is complete.
Deleted Status

If a workspace is deleted an icon will be displayed in the Directory