Change the Domain Email Notifications are sent from:
To send emails from your own domain we currently support the following options:
- Using your companies M365 Emails
- Using an SMTP Server
- Using a 3rd party notification provider.
If you did change your 'From address' in the notification tab (service definition), the emails will only send for a short period of time, but in a couple of months time they will be blocked.
Setup one of our other notifications providers to prevent this.
If you have noticed this or want to use your companies domain, please use one of our supported notification providers.
SMTP Server
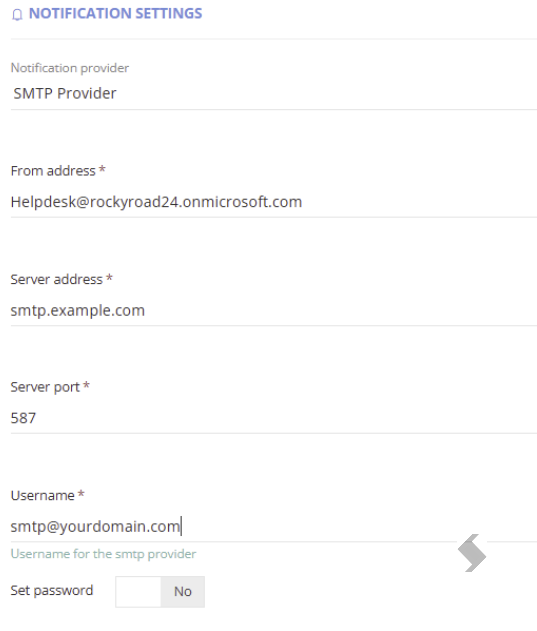
Send Email Notifications via SMTP
The SMTP will need to be configured for the account you wish to use as the send from email.
In the Notification Settings, set the
- ‘From’ address, this must be an existing email account you have set up in your tenant. The From address used in the Service Definition will be ignored, please remove this if it is in place.
- Server address,
- Sever port,
- Username and password from your SMTP provider.
3rd Party Provider - Brevo (previously Send in Blue) or Twilio (previously Send Grid)
This will require your company to create an account with the 3rd party provider and link this via the API.
Often a free account can be used depending on how many emails will be sent.
For the 3rd party providers you will nee to setup the following:
Generate an API Key
The key will be used in the Admin > Settings > App Settings > Notification Settings tab, to link our apps together.
- Login to he send in blue web page, using your account - below shows an example from Brevo (Send in Blue)
- Select your profile > Settings > SMTP & API
- Select API keys & MCP
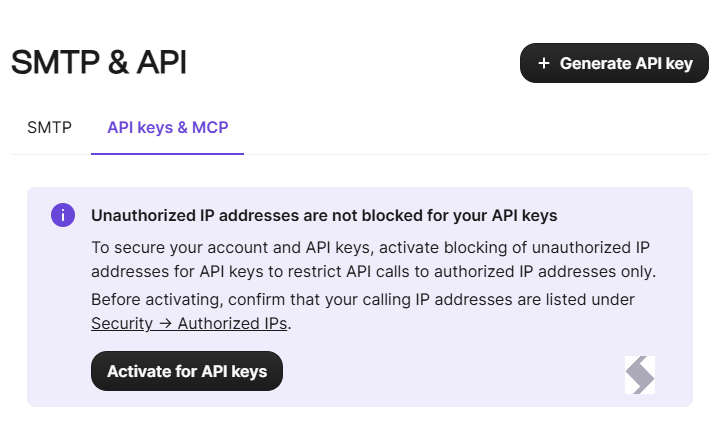
- Click 'Generate API Key'
- Give the Key a name & Expiry date
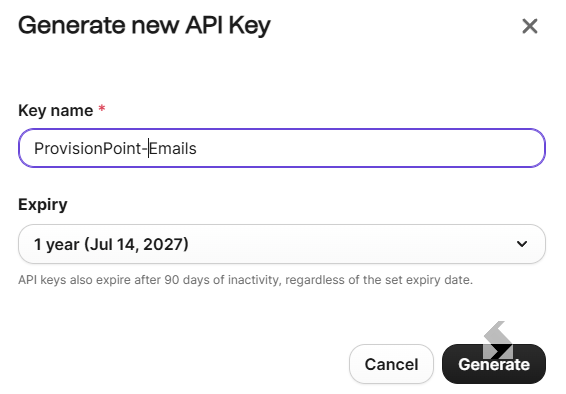
- Click Generate
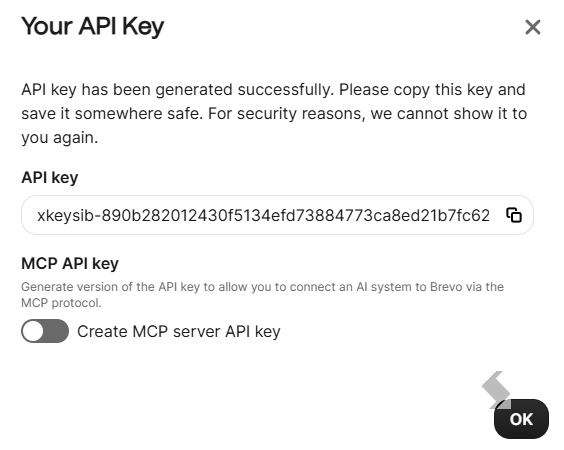
- Your Key will be displayed, copy this and keep it safe.
- Open ProvisionPoint and navigate to the Admin > Settings > App Settings > Notification Settings tab
- Select the notification provider from the list
- Set Use own instance to Yes
- Set provider details to Yes
- Paste in the API key
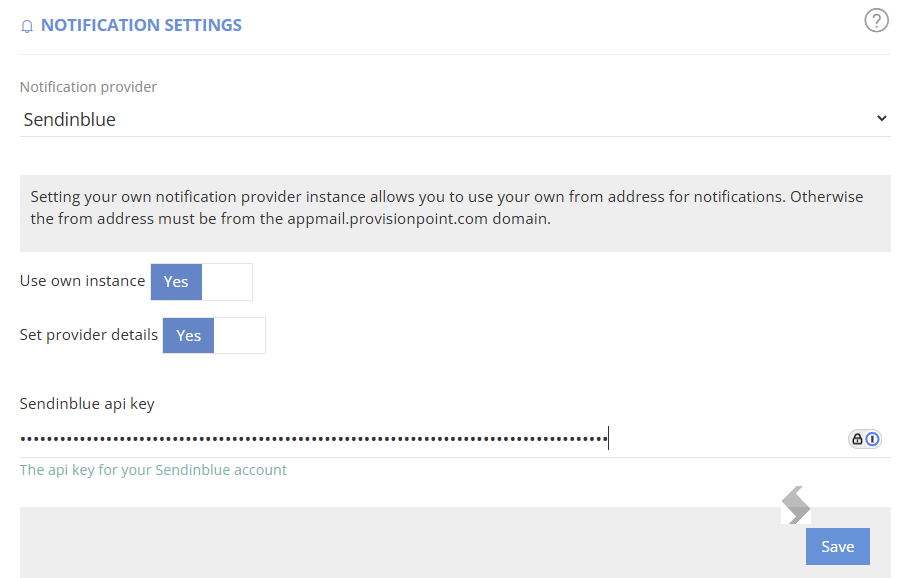
- Click Save
Setup Senders and IPs
Now you can change your 'From address' in ProvisionPoint Service Definitions, however there is a change the emails will get blocked eventually.
To prevent this add your domains and senders to the send in blue account.
- Login to the 3rd party website
- Access your profile > Settings and click 'Senders, domains, IPs'
- Authenticate your domain
- Add the Domain name
- Click Continue
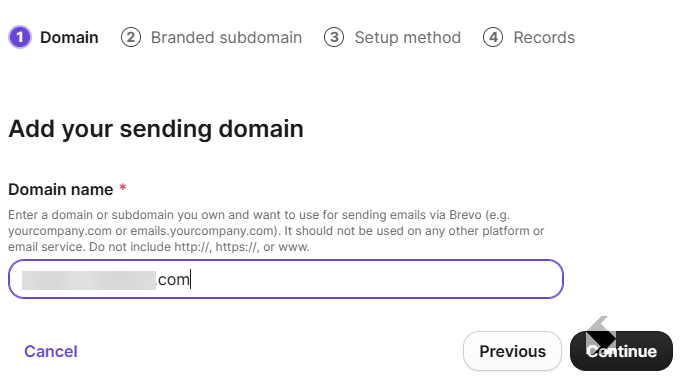
- Add a branded subdomain
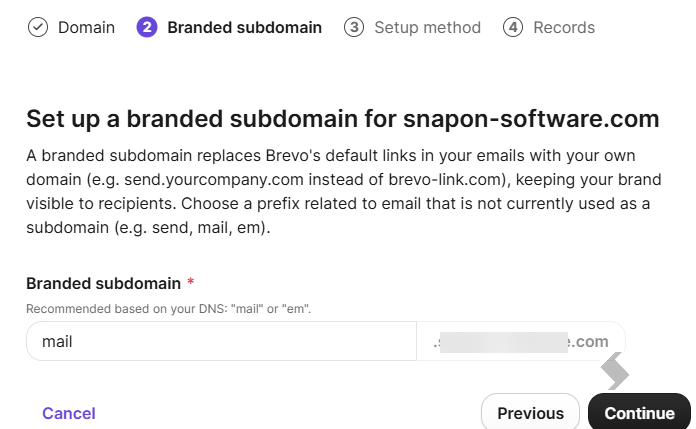
- Choose how to add the records:
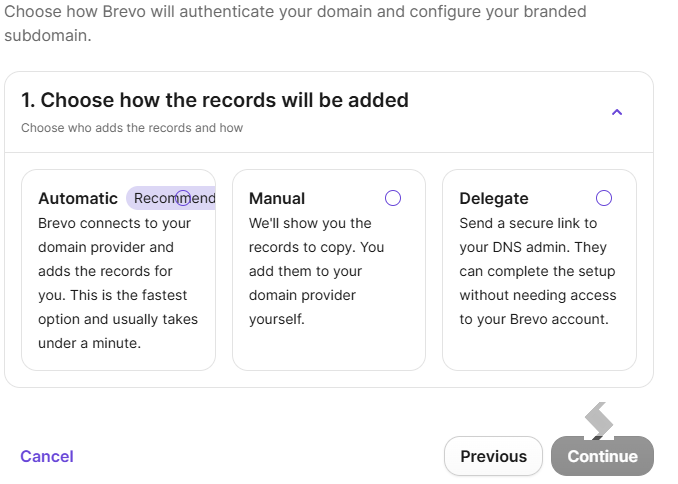
- Once Authenticated, add Senders, these are the email addresses you would like to use in ProvisionPoint
- Click 'Add Sender'
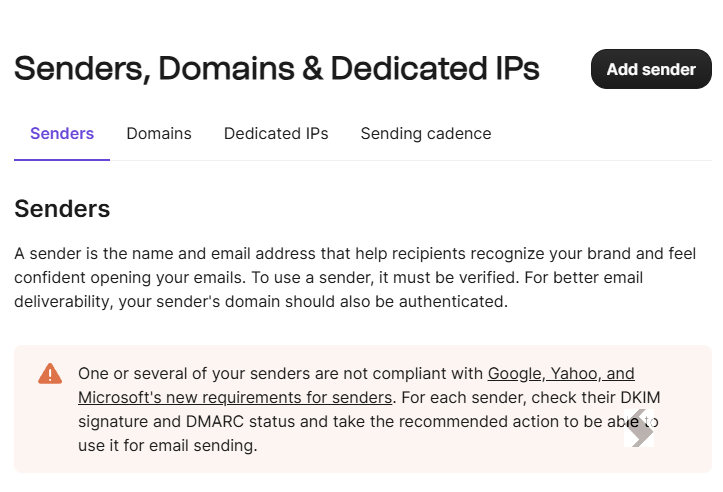
- Add the name and email address of the sender
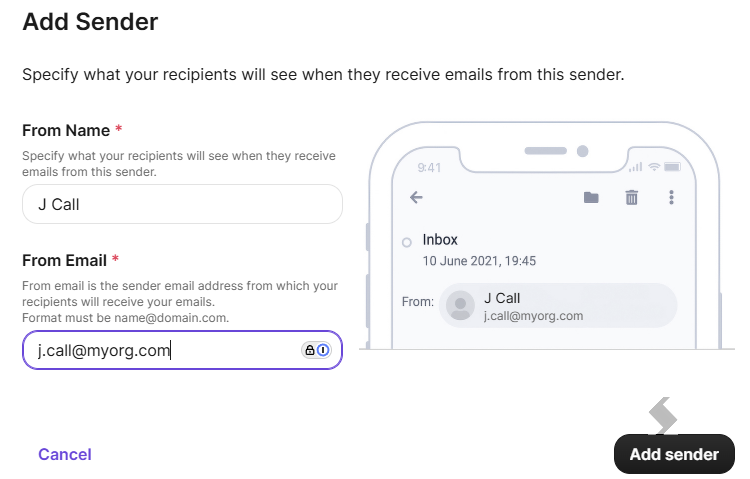
- Click Add Sender
- A verification will be sent
- Repeat for any other send from addresses.
Amend the From Address in all Service Definitions
Now the senders and domain is configured, amend the Service Definitions > Notification > From Address field with your verified email:
If you do find the emails are still getting blocked, please check you have no other DNS blocks or applications that may prevent the emails being sent.
In some cases a sub domain can be created to resolve blocks.
Once the notification provider is configured your emails will be received from an email of your choice. Ensure the Notifications Tab is enabled and all notifications are set as you need.